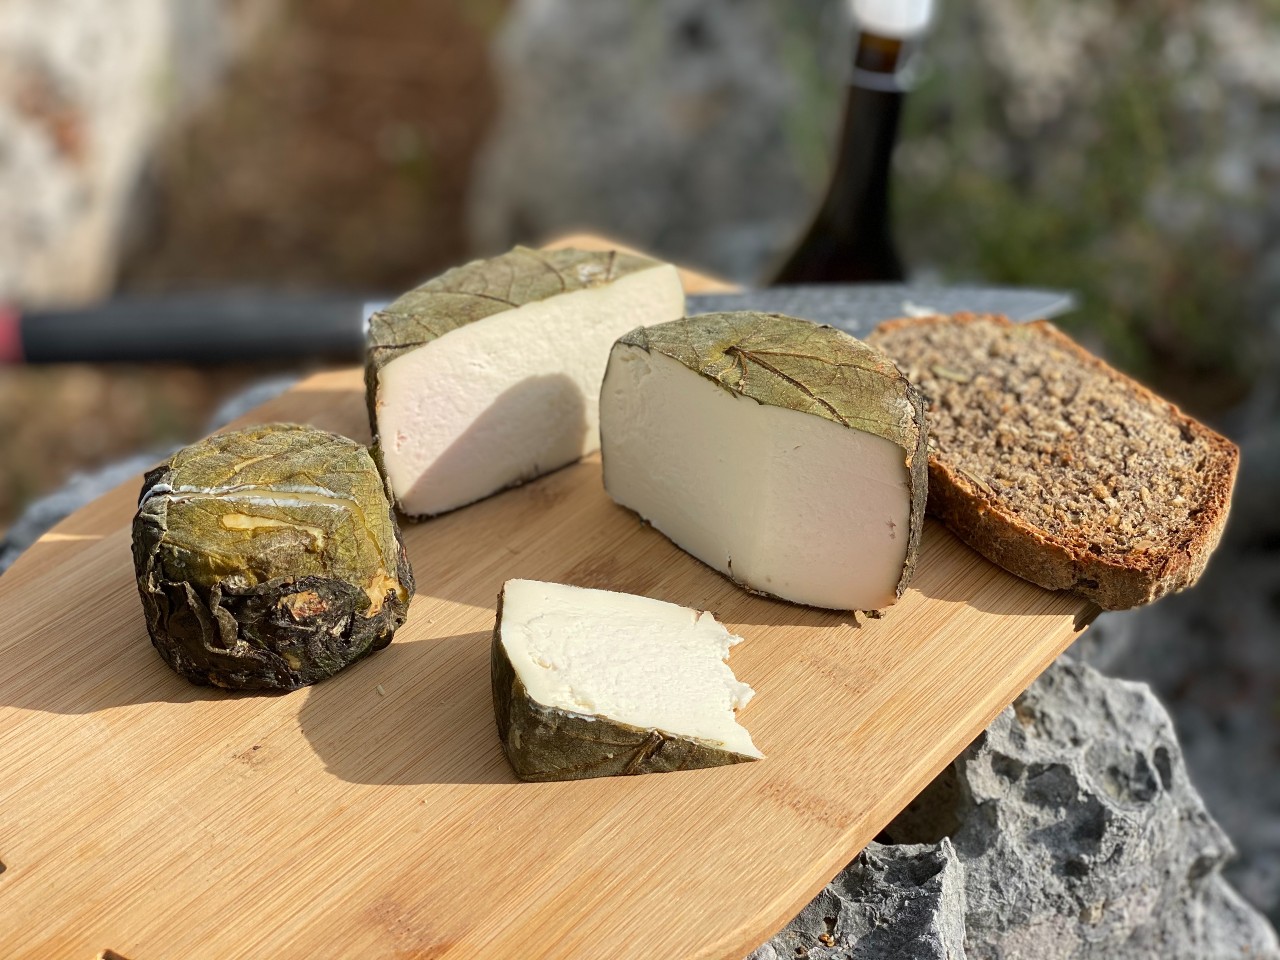
With summer approaching and the figs season, making this cheese will be a fun and easy task. By using fig sap, you don’t need to have access to the regular rennet. Let’s see how to make cheese in fig leaves with just a few simple ingredients.
INGREDIENTS
– 2 liters of whole milk
– 250 ml of fresh cream
– 1/2 lemon
– 2 teaspoons of sea salt
– 1 sprig of fig leaves
– 1 sprig of fig about 20 cm long
– 2 baskets
To make this cheese, I used whole milk from the supermarket (to clarify, not the long-life type but the fresh one) thinking of all those who can’t find milk from a local farmer.
INSTRUCTIONS
1) In a large pot, pour the 2 liters of milk, the cream, and the sprig of fig to which we have previously made incisions on the bark. Mix well and heat to 50°C. (Alternatively, you can also make a deep cut at both ends of the fig sprig).
2) Turn off the heat and remove the pot from the stove. Cover with a lid and let it cool for about 30 minutes.
3) Meanwhile, after washing and drying the leaves, take a basket, turn it upside down, and place 2 or 3 leaves on it, trying to cover it completely. Place the other basket on top and nest them one inside the other so that the leaves take the shape.
4) After 30 minutes, remove the fig sprig, add the salt to the pot with the milk, stir, and add the juice of half a lemon.
5) Place the pot on low heat and wait for the curd to form. You will see that the milk separates into curds and whey. If this doesn’t happen, you can add more lemon, or as indicated by some, instead of using lemon, you can use vinegar in an amount of 2% compared to the quantity of milk.
6) Once the curd is formed, remove it from the pot with a slotted spoon and place it inside the basket. Of course, it will be the basket with the leaves inside, the one we used by placing it on top of the first. Use the leftover basket to press the curd well to remove the excess whey from our homemade cheese in fig leaves. Do not press too hard; we do not want the curd to come out of the holes in the basket, only the whey.
7) Place the basket with the curd on a plate upside down so that it serves as a support for the full one. Leave the cheese to drain like this for about 5 hours.
8) Place the plate with the basket in the refrigerator for about 24 hours. The next day, take the cheese (you will notice that its shape has shrunk slightly) and using a large fig leaf, turn the contents of the basket upside down and wrap the uncovered part of the cheese in the fig leaf. Now our cheese is completely covered with fig leaves. Put it back in the basket and return it to the refrigerator for about 5 days.
9) Prepare a plate and place a wooden grid on top if you have one, or a sushi mat could be an excellent solution, or even wooden sushi sticks. Place our cheese in fig leaves, removed from the basket, on top and let it age in the refrigerator or cellar.
VERY IMPORTANT: REMEMBER TO TURN THE CHEESE ONCE A DAY OR EVERY OTHER DAY TO ACHIEVE EVEN AGING.
The aging times depend a lot on where we age our cheese, the temperature, humidity, and also our tastes. It is clear that if we prefer a fresher cheese, we will not age it for months.
I obtained a medium-fresh cheese, by leaving the it in the refrigerator for about 2 months.


